DIY Christmas Decorations and Gifts
DIY Christmas Ornaments: Step-by-Step Guide
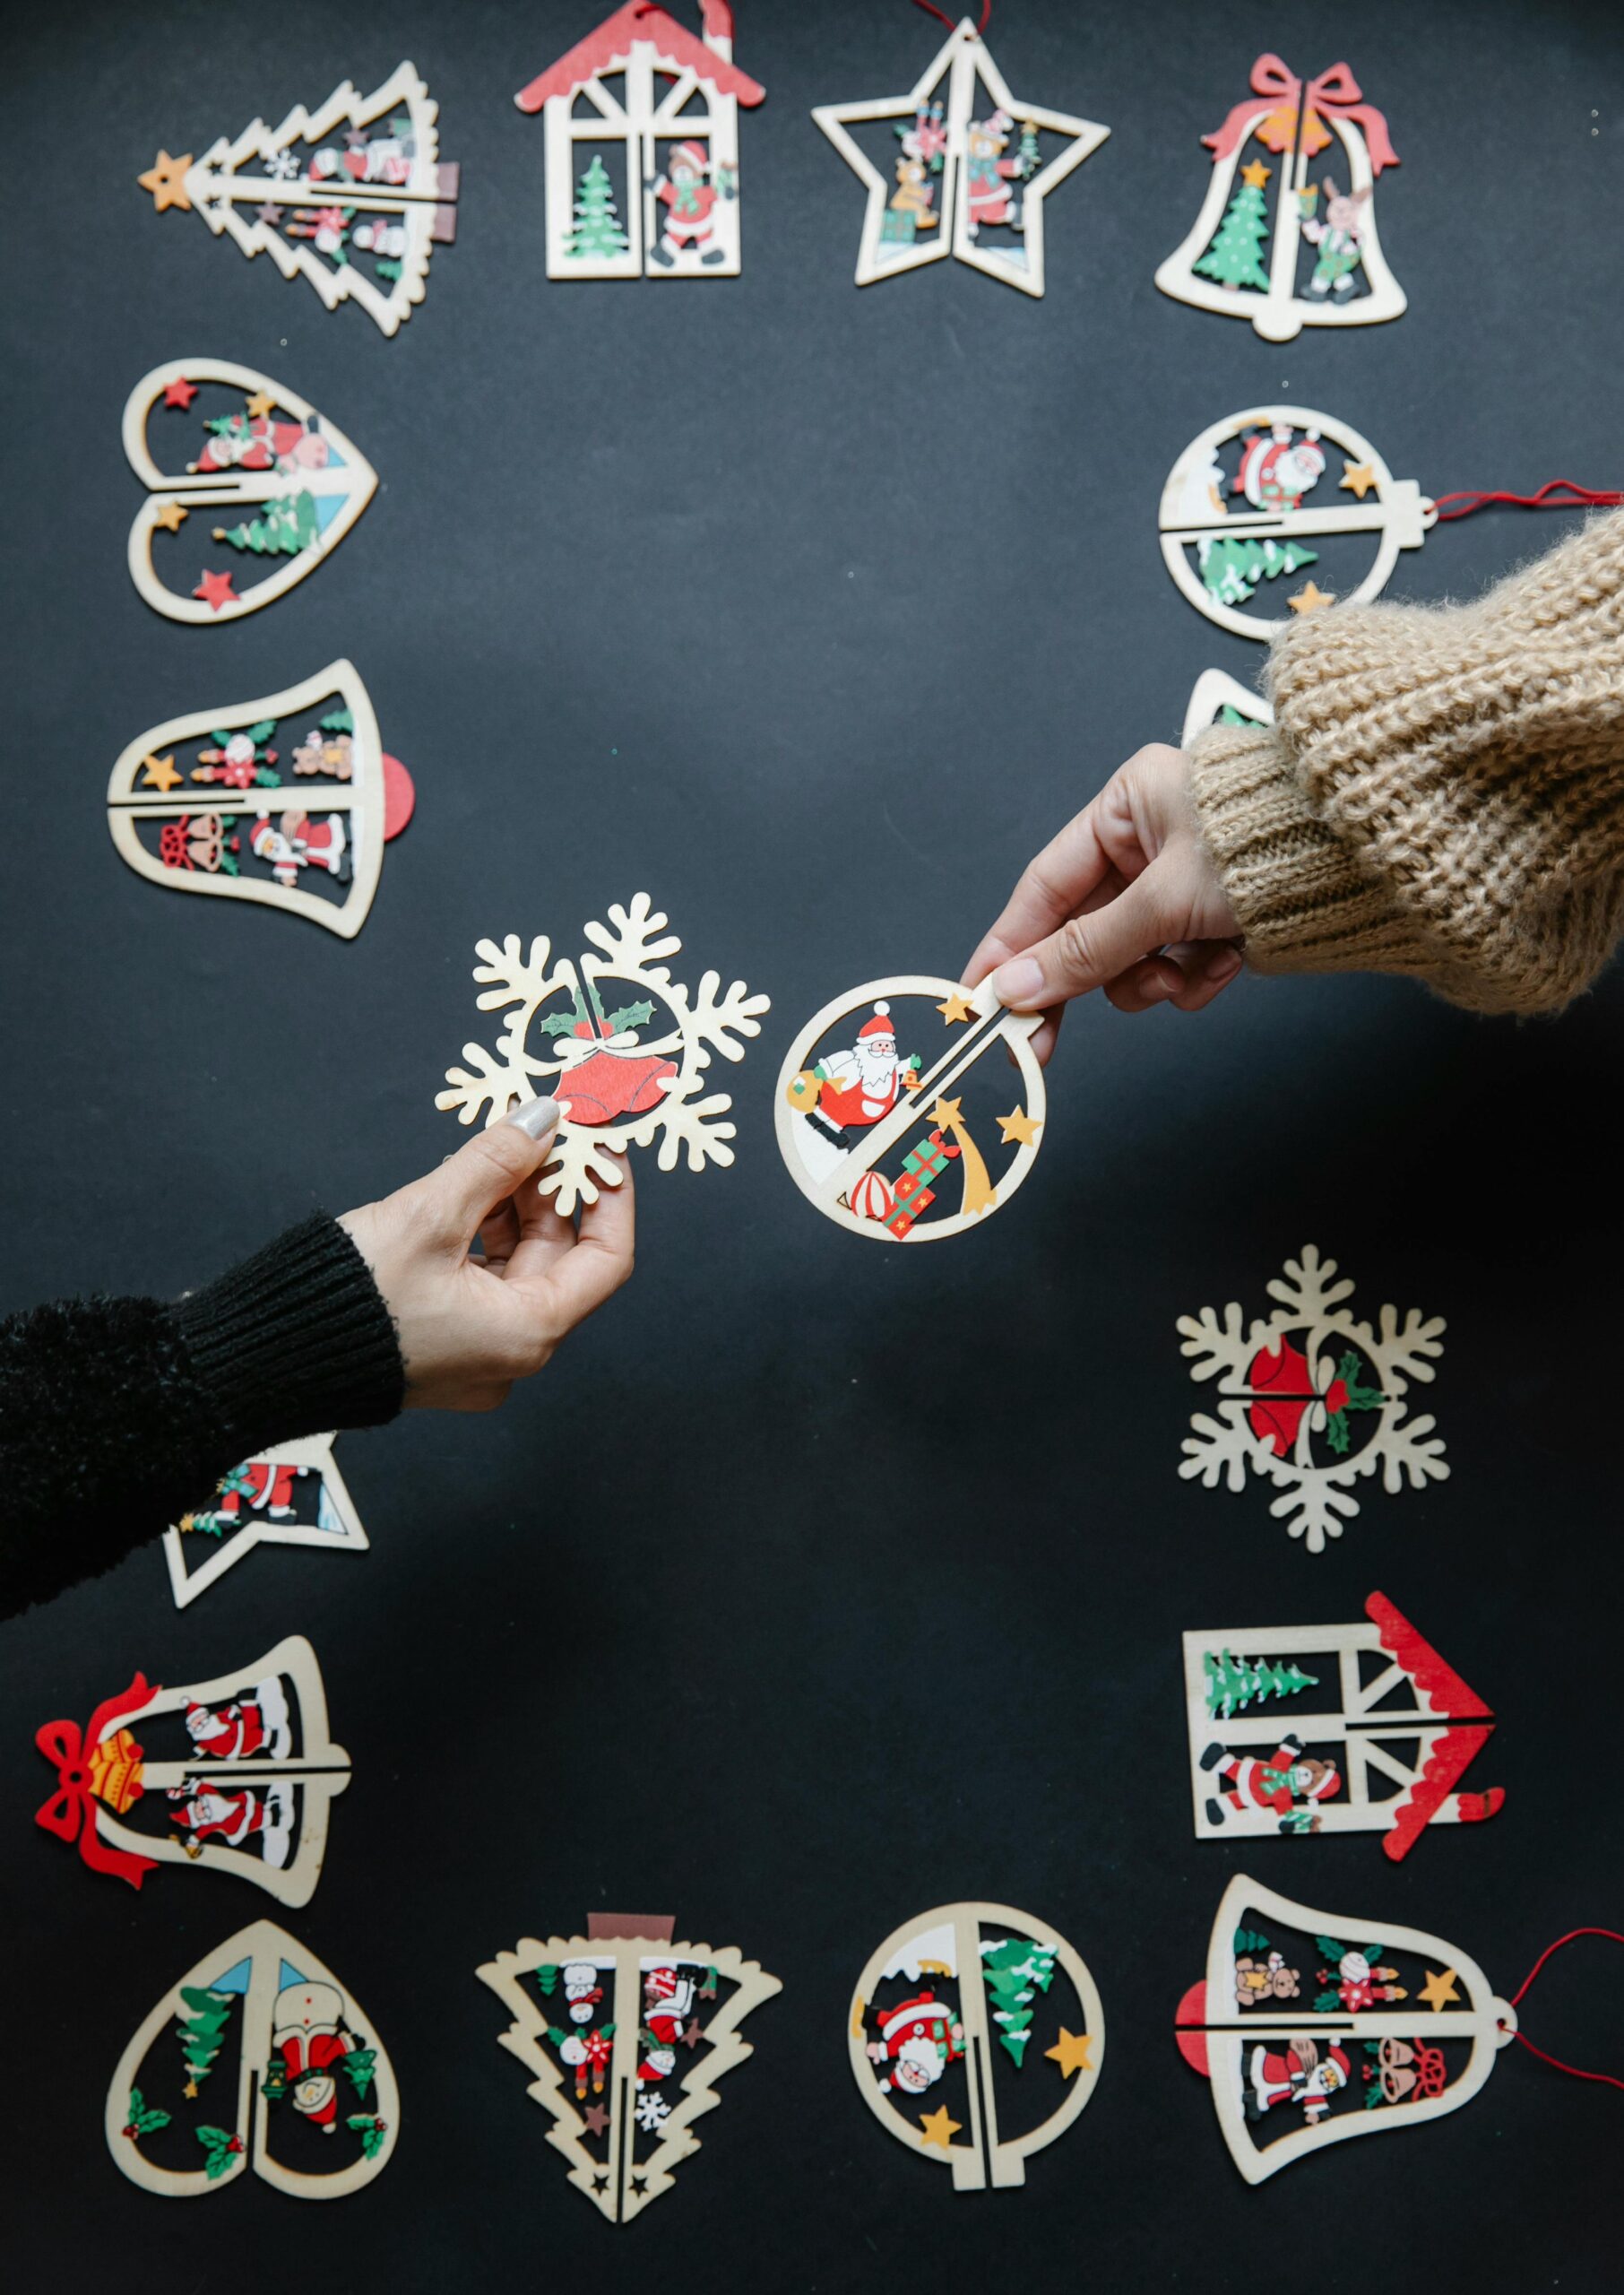
1. Painted Ornaments
Create vibrant and festive ornaments using paint to add a personalized touch to your Christmas decor.
Painting DIY – Mhiraa | Photo by Jonathan Borba: https://www.pexels.com/photo/greeting-cards-3358726/
Materials Needed:
- Glass or wooden ornaments (available at craft stores)
- Acrylic paints (assorted festive colors)
- Paintbrushes (various sizes for detail work)
- Painter’s tape (optional, for masking areas)
- Glitter and glue (optional for sparkle)
- Varnish or clear sealant (optional for a glossy finish)
- Palette or disposable plate for mixing paint
- Water cup (for cleaning brushes)
- Paper towels or a cleaning cloth
Steps:
- Prepare the Workspace:
- Lay down newspaper or a plastic sheet to protect your workspace.
- Gather all materials within easy reach.
- Clean the Ornaments:
- Wipe the surface of the glass or wooden ornaments to remove dust or oils. This helps paint adhere better.
- Design Your Ornament:
- Use painter’s tape to create stripes or geometric patterns, or sketch a design lightly with a pencil (on wooden ornaments).
- Paint the Base Coat:
- Apply a solid background color if desired. Let it dry completely before adding details.
- Add Festive Designs:
- Use smaller brushes for intricate details like snowflakes, trees, stars, or holiday phrases.
- For glitter accents, apply glue to specific areas and sprinkle glitter over them.
- Seal the Design:
- Once the paint is dry, apply a clear sealant to protect the design and add a glossy finish.
- Allow to Dry:
- Let the ornaments dry completely before handling or hanging.
2. Ornaments with Photos
Personalized photo ornaments make for memorable keepsakes and thoughtful gifts.

Materials Needed:
- Clear glass or plastic ornaments with removable tops
- Family photos (printed and cut to fit the ornament size)
- Scissors
- Tweezers (to handle photos inside ornaments)
- Decorative materials (glitter, faux snow, or small beads)
- Ribbon or twine (for hanging)
- Hot glue gun (optional, for securing the top)
Steps:
- Choose and Print Photos:
- Select family photos and print them on lightweight photo paper. Trim them to fit inside the ornament.
- Prepare the Ornament:
- Remove the top of the ornament carefully.
- Insert the Photo:
- Roll the photo gently (if needed) and insert it into the ornament. Use tweezers to adjust its position.
- Add Decorative Fillers:
- Add a small amount of glitter, faux snow, or beads to create a festive look.
- Seal the Ornament:
- Replace the top securely. Use hot glue for extra stability if necessary.
- Add Ribbon:
- Attach a ribbon or twine to the top for hanging. You can also tie a bow for decoration.
3. Salt Dough Ornaments
Handmade salt dough ornaments are a fun and creative activity for the whole family.
Materials Needed:
- 2 cups all-purpose flour
- 1 cup salt
- 1 cup water (adjust as needed)
- Rolling pin
- Cookie cutters (holiday-themed shapes)
- Drinking straw (for creating holes)
- Baking sheet and parchment paper
- Acrylic paints
- Paintbrushes
- Ribbon or twine (for hanging)
- Clear sealant (optional)
Steps:
- Make the Dough:
- Mix flour, salt, and water in a bowl until it forms a dough. Add water gradually to achieve the right consistency.
- Roll Out the Dough:
- Sprinkle a little flour on a flat surface and roll the dough to about ¼ inch thickness.
- Cut Out Shapes:
- Use cookie cutters to cut out shapes. Use a straw to create a hole at the top of each ornament for hanging.
- Bake the Ornaments:
- Place the ornaments on a parchment-lined baking sheet.
- Bake at 250°F (120°C) for 2-3 hours until they are completely dry and hardened.
- Cool the Ornaments:
- Allow the ornaments to cool completely before painting.
- Paint and Decorate:
- Use acrylic paints to decorate the ornaments with holiday designs. Add names or dates for personalization.
- Seal the Ornaments:
- Apply a clear sealant to protect the paint and add durability.
- Attach Ribbon:
- Thread ribbon or twine through the hole for hanging.
Pro Tips for All Projects:
- Plan Ahead: Sketch your designs on paper first to visualize your ideas.
- Get Creative: Mix techniques or embellishments for a unique touch.
- Involve Kids: Supervise while they paint or decorate for a family-friendly activity.
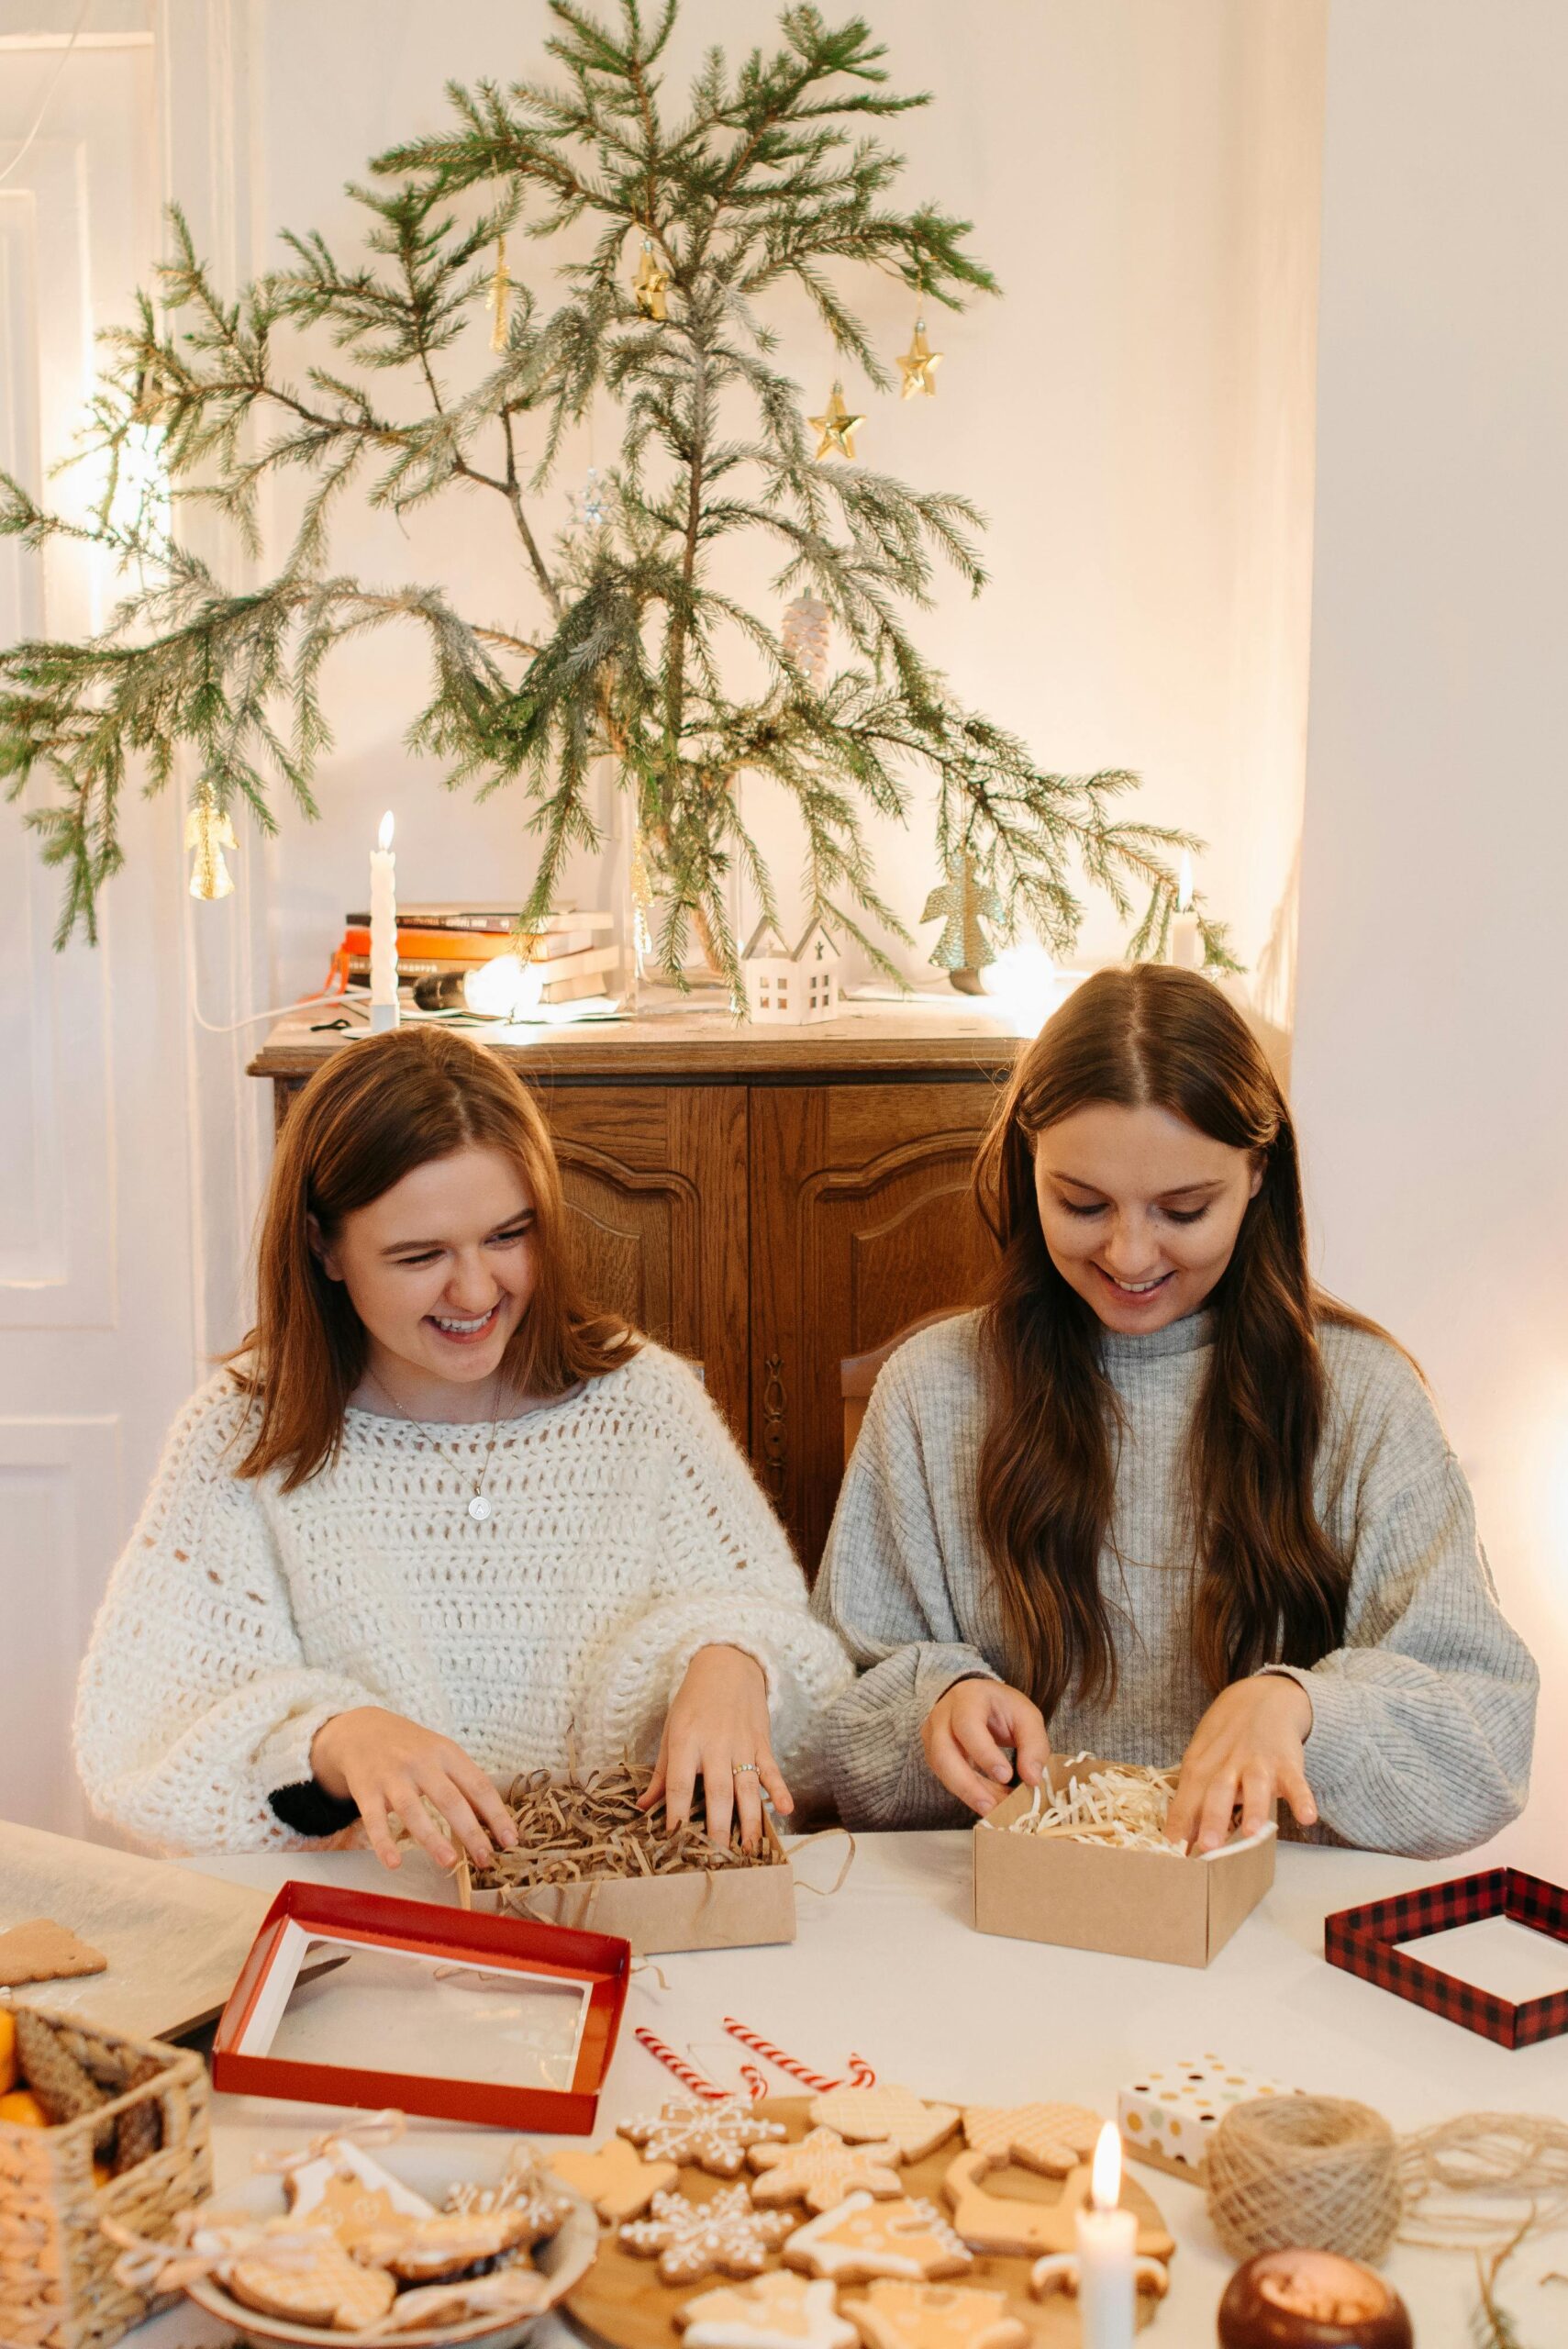
- Gift Idea: Package these ornaments in small gift boxes as personalized presents.
These DIY Christmas ornaments will bring joy to your holiday season and add a handmade charm to your decorations!
DIY Christmas Wreaths: Step-by-Step Guide
1. Evergreen Wreath
A classic wreath made from fresh or faux evergreen branches brings a timeless festive charm to your home.
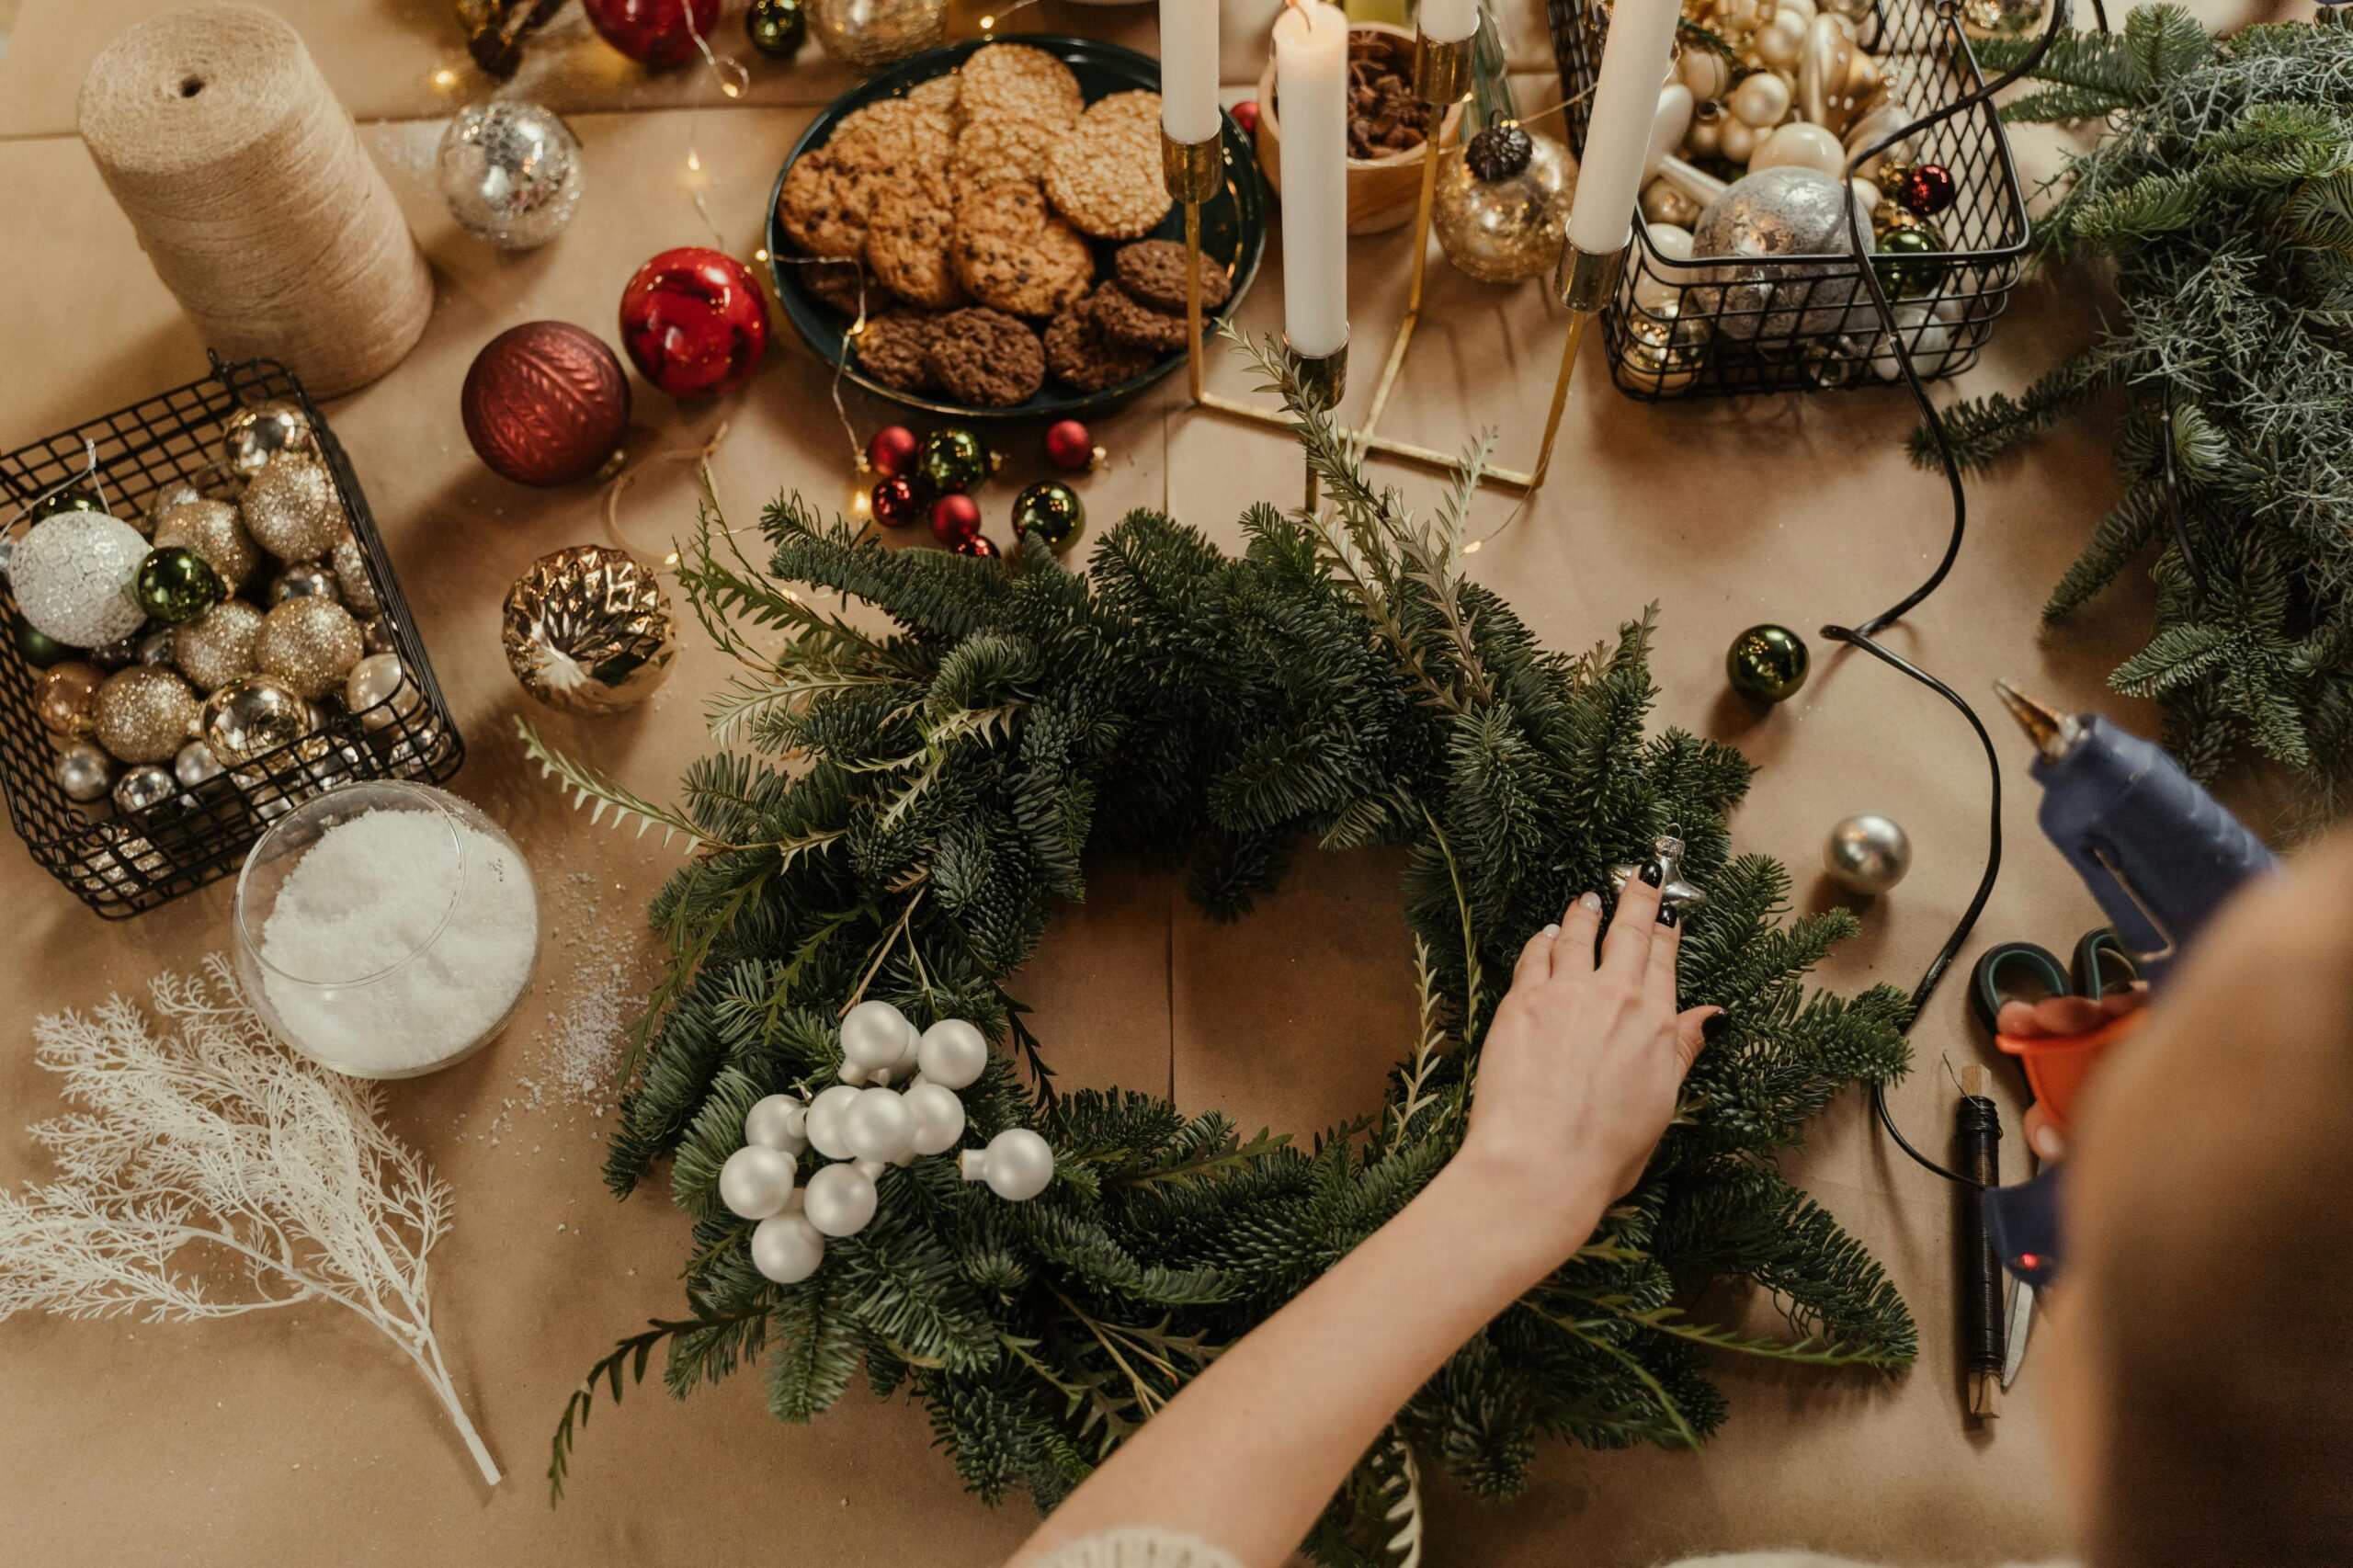
Materials Needed:
- Fresh evergreen branches (pine, fir, cedar, or a mix) or faux evergreen garland
- Wire wreath frame (available at craft stores)
- Florist wire or green floral tape
- Pruning shears or scissors
- Decorative elements (pinecones, berries, ornaments, or ribbons)
- Hot glue gun and glue sticks (optional, for attaching decorations)
- Ribbon or twine (for hanging)
Steps:
- Prepare the Branches:
- Trim fresh evergreen branches into smaller, manageable pieces, about 6–8 inches long.
- Attach the Greenery:
- Secure the first branch to the wire wreath frame with florist wire, wrapping it tightly around the frame.
- Overlap the next branch slightly, covering the stem of the previous piece. Continue this process around the entire frame.
- Layer for Fullness:
- Add additional layers of branches if needed to create a fuller look. Ensure all branches flow in the same direction.
- Add Decorative Elements:
- Use hot glue or florist wire to attach pinecones, berries, ornaments, or other festive decorations.
- Tie a bow with ribbon and secure it to the top or bottom of the wreath.
- Finishing Touches:
- Inspect the wreath for gaps or loose pieces and adjust as needed.
- Attach a loop of ribbon or twine to the back for hanging.
2. DIY Paper Wreath
A colorful paper wreath is a fun and creative project, perfect for indoor decor.
Materials Needed:
- Construction paper or cardstock (assorted colors, especially green, red, and white)
- Scissors
- Pencil
- Glue stick or double-sided tape
- Circular cardboard base (cut from an old box or use a paper plate)
- Ruler or stencil (optional, for uniform shapes)
- Decorative elements (optional: glitter, bows, or stickers)
Steps:
- Prepare the Base:
- Cut out a circular ring from cardboard or the center of a paper plate. This will serve as the foundation for your wreath.
- Create Paper Leaves or Shapes:
- Draw and cut out shapes such as leaves, holly, or poinsettias on construction paper.
- You can use stencils for uniformity or freehand for a whimsical look. Aim for enough pieces to fully cover the base.
- Assemble the Wreath:
- Begin attaching paper shapes to the base using glue or tape. Start at the outer edge and work toward the center, overlapping pieces slightly for a layered effect.
- Add Decorations:
- Attach small paper circles (berries), ribbons, or other embellishments to enhance the wreath.
- Optional: Add glitter to certain areas for sparkle.
- Create a Hanging Loop:
- Glue a loop of ribbon or twine to the back for hanging.
Tips for Both Wreaths:
- Use Recycled Materials: For a sustainable touch, repurpose old ornaments or leftover paper scraps.
- Experiment with Colors: Add metallic accents or use non-traditional colors to make your wreath stand out.
- Involve Kids: The paper wreath project is especially kid-friendly and a great holiday activity.
Both of these wreaths are delightful ways to celebrate the season and showcase your crafting skills!
DIY Christmas Crafts: Step-by-Step Guide
1. Knitted or Crocheted Items
Perfect for cozy holiday gifts, knitted or crocheted scarves, hats, or blankets add a handmade touch to your Christmas giving.

Materials Needed:
- Yarn (choose soft, festive colors like red, green, white, or gold)
- Knitting needles or crochet hook (size depends on the yarn weight)
- Scissors
- Tapestry needle (for weaving in ends)
- Pattern (optional; simple projects can be done without one)
Steps for a Knitted Scarf:
- Select Yarn and Needles:
- Choose a yarn suitable for beginners (like medium-weight acrylic) and matching needles (usually US size 8–10).
- Cast On:
- Cast on 30–40 stitches, depending on the desired width.
- Start Knitting:
- Use the garter stitch (knit every row) for a simple pattern. Continue until the scarf reaches your desired length.
- Bind Off and Finish:
- Bind off the stitches and weave in loose ends with a tapestry needle.
- Add Details:
- Attach tassels or fringe for a decorative finish.
Steps for a Crocheted Hat:
- Choose Yarn and Hook:
- Select yarn and a crochet hook size as recommended on the yarn label.
- Create a Magic Circle:
- Start with a magic circle and crochet single or double crochet stitches in rounds.
- Shape the Hat:
- Increase stitches in each round until the hat fits the crown of the head, then stop increasing to build the body.
- Finish and Decorate:
- Once the hat reaches the desired length, weave in the ends and add a pom-pom or embellishments.
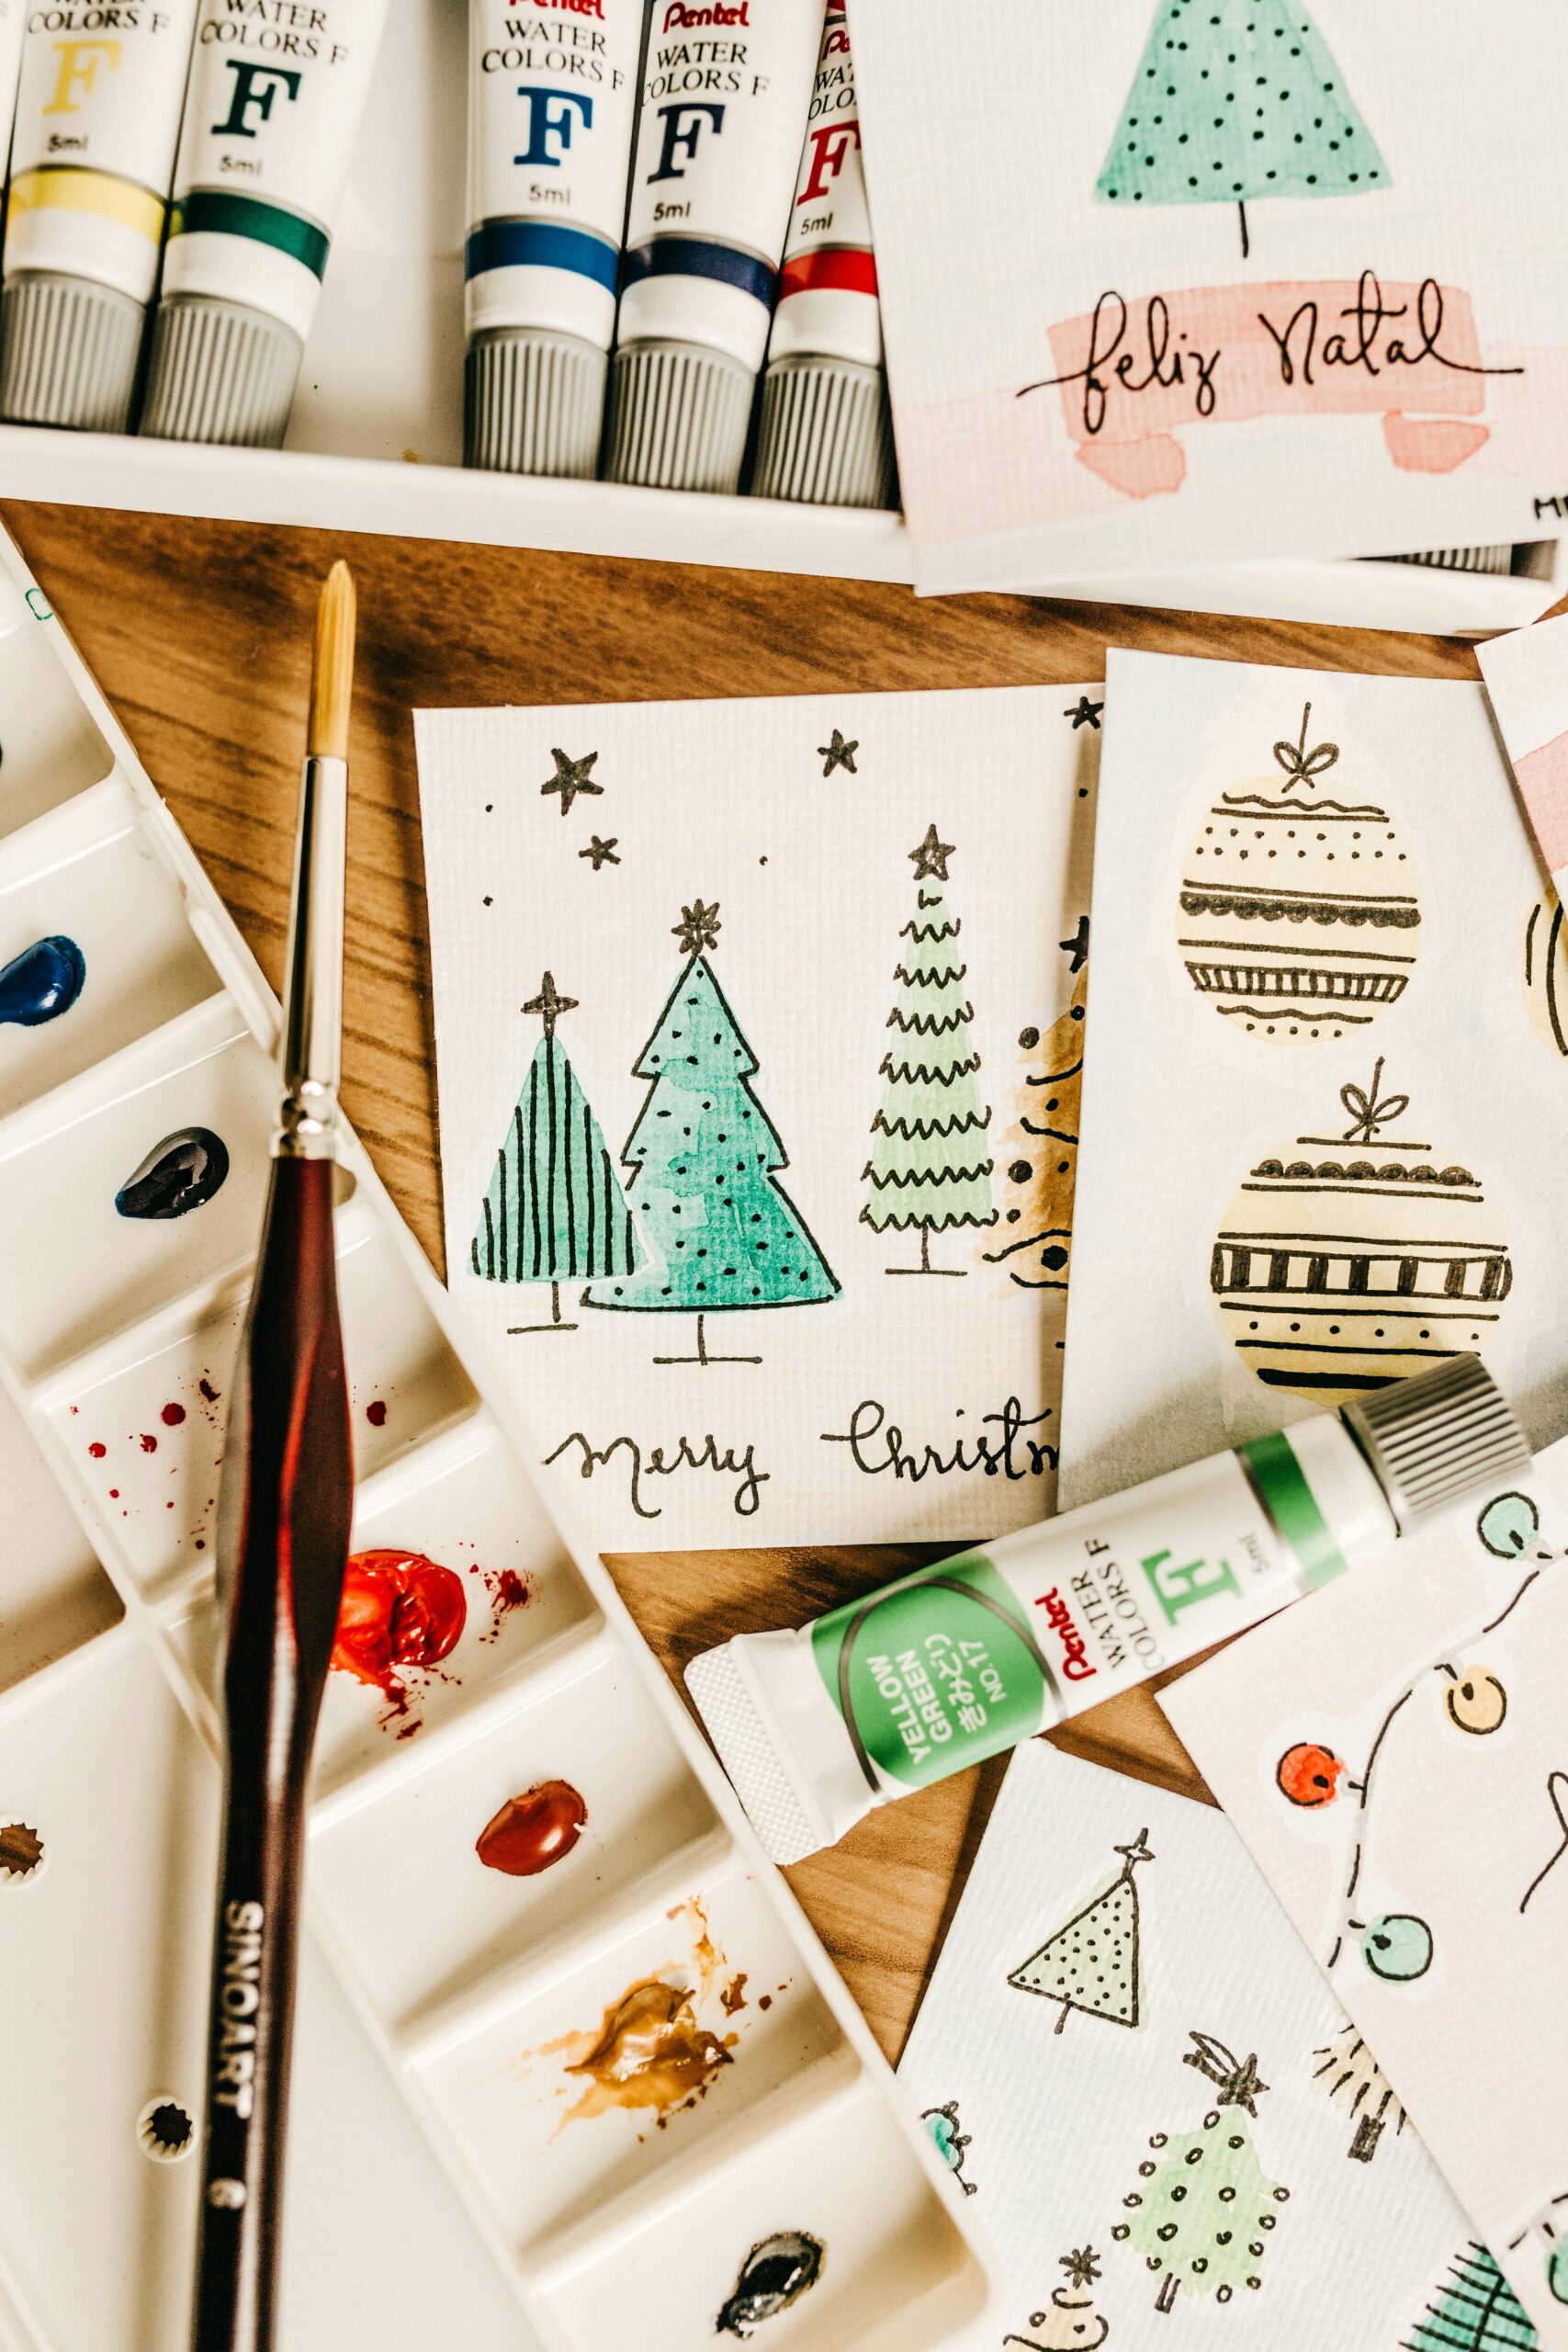
2. Handmade Christmas Cards
A personalized card with your unique design adds warmth to holiday greetings.
Materials Needed:
- Cardstock (various colors)
- Scissors or craft knife
- Glue stick or double-sided tape
- Markers, pens, or colored pencils
- Decorative materials (glitter, stickers, ribbons, or stamps)
- Ruler and pencil (for precise measurements)
Steps:
- Prepare the Card Base:
- Cut cardstock into your desired size, typically 5″x7″ or folded into halves.
- Design the Front:
- Sketch or arrange your design. Ideas include Christmas trees, snowflakes, ornaments, or hand-lettered greetings.
- Add Embellishments:
- Use glitter, stickers, or small bows to enhance your design.
- Write a Personal Message:
- Inside the card, write a heartfelt holiday message with markers or calligraphy pens.
- Finalize:
- Allow glue or ink to dry completely before placing the card in an envelope.
3. Painted Artwork
Create festive art pieces for wall decor or gifting by painting on canvas or wooden boards.
Materials Needed:
- Blank canvas or wooden boards
- Acrylic paints (variety of colors)
- Paintbrushes (small and large for detail work)
- Pencil (for sketching designs)
- Palette or disposable plate for mixing colors
- Varnish or clear sealant (optional, for protecting the artwork)
Steps:
- Prepare the Surface:
- Ensure the canvas or wooden board is clean and ready for painting.
- Sketch Your Design:
- Lightly sketch your festive idea, such as a snowy scene, Christmas tree, or holiday lettering.
- Start Painting:
- Begin with background colors and let them dry before adding details. Use smaller brushes for intricate work.
- Enhance the Artwork:
- Add metallic paint for a touch of elegance or use sponge techniques for a textured look.
- Seal the Art:
- Once dry, apply a clear varnish or sealant to protect your work.
- Display or Gift:
- Frame the painting or attach a hanging mechanism for easy display.
Tips for All Crafts:
- Plan Ahead: Sketch designs or test stitches before starting.
- Personalize: Add names, initials, or messages for a custom touch.
- Use Quality Materials: Invest in durable yarns, cardstock, and paints to ensure your creations last.
- Make It a Family Activity: Involve kids in card-making or simple painting for extra holiday fun.
These DIY Christmas crafts are thoughtful, creative, and perfect for spreading holiday cheer!
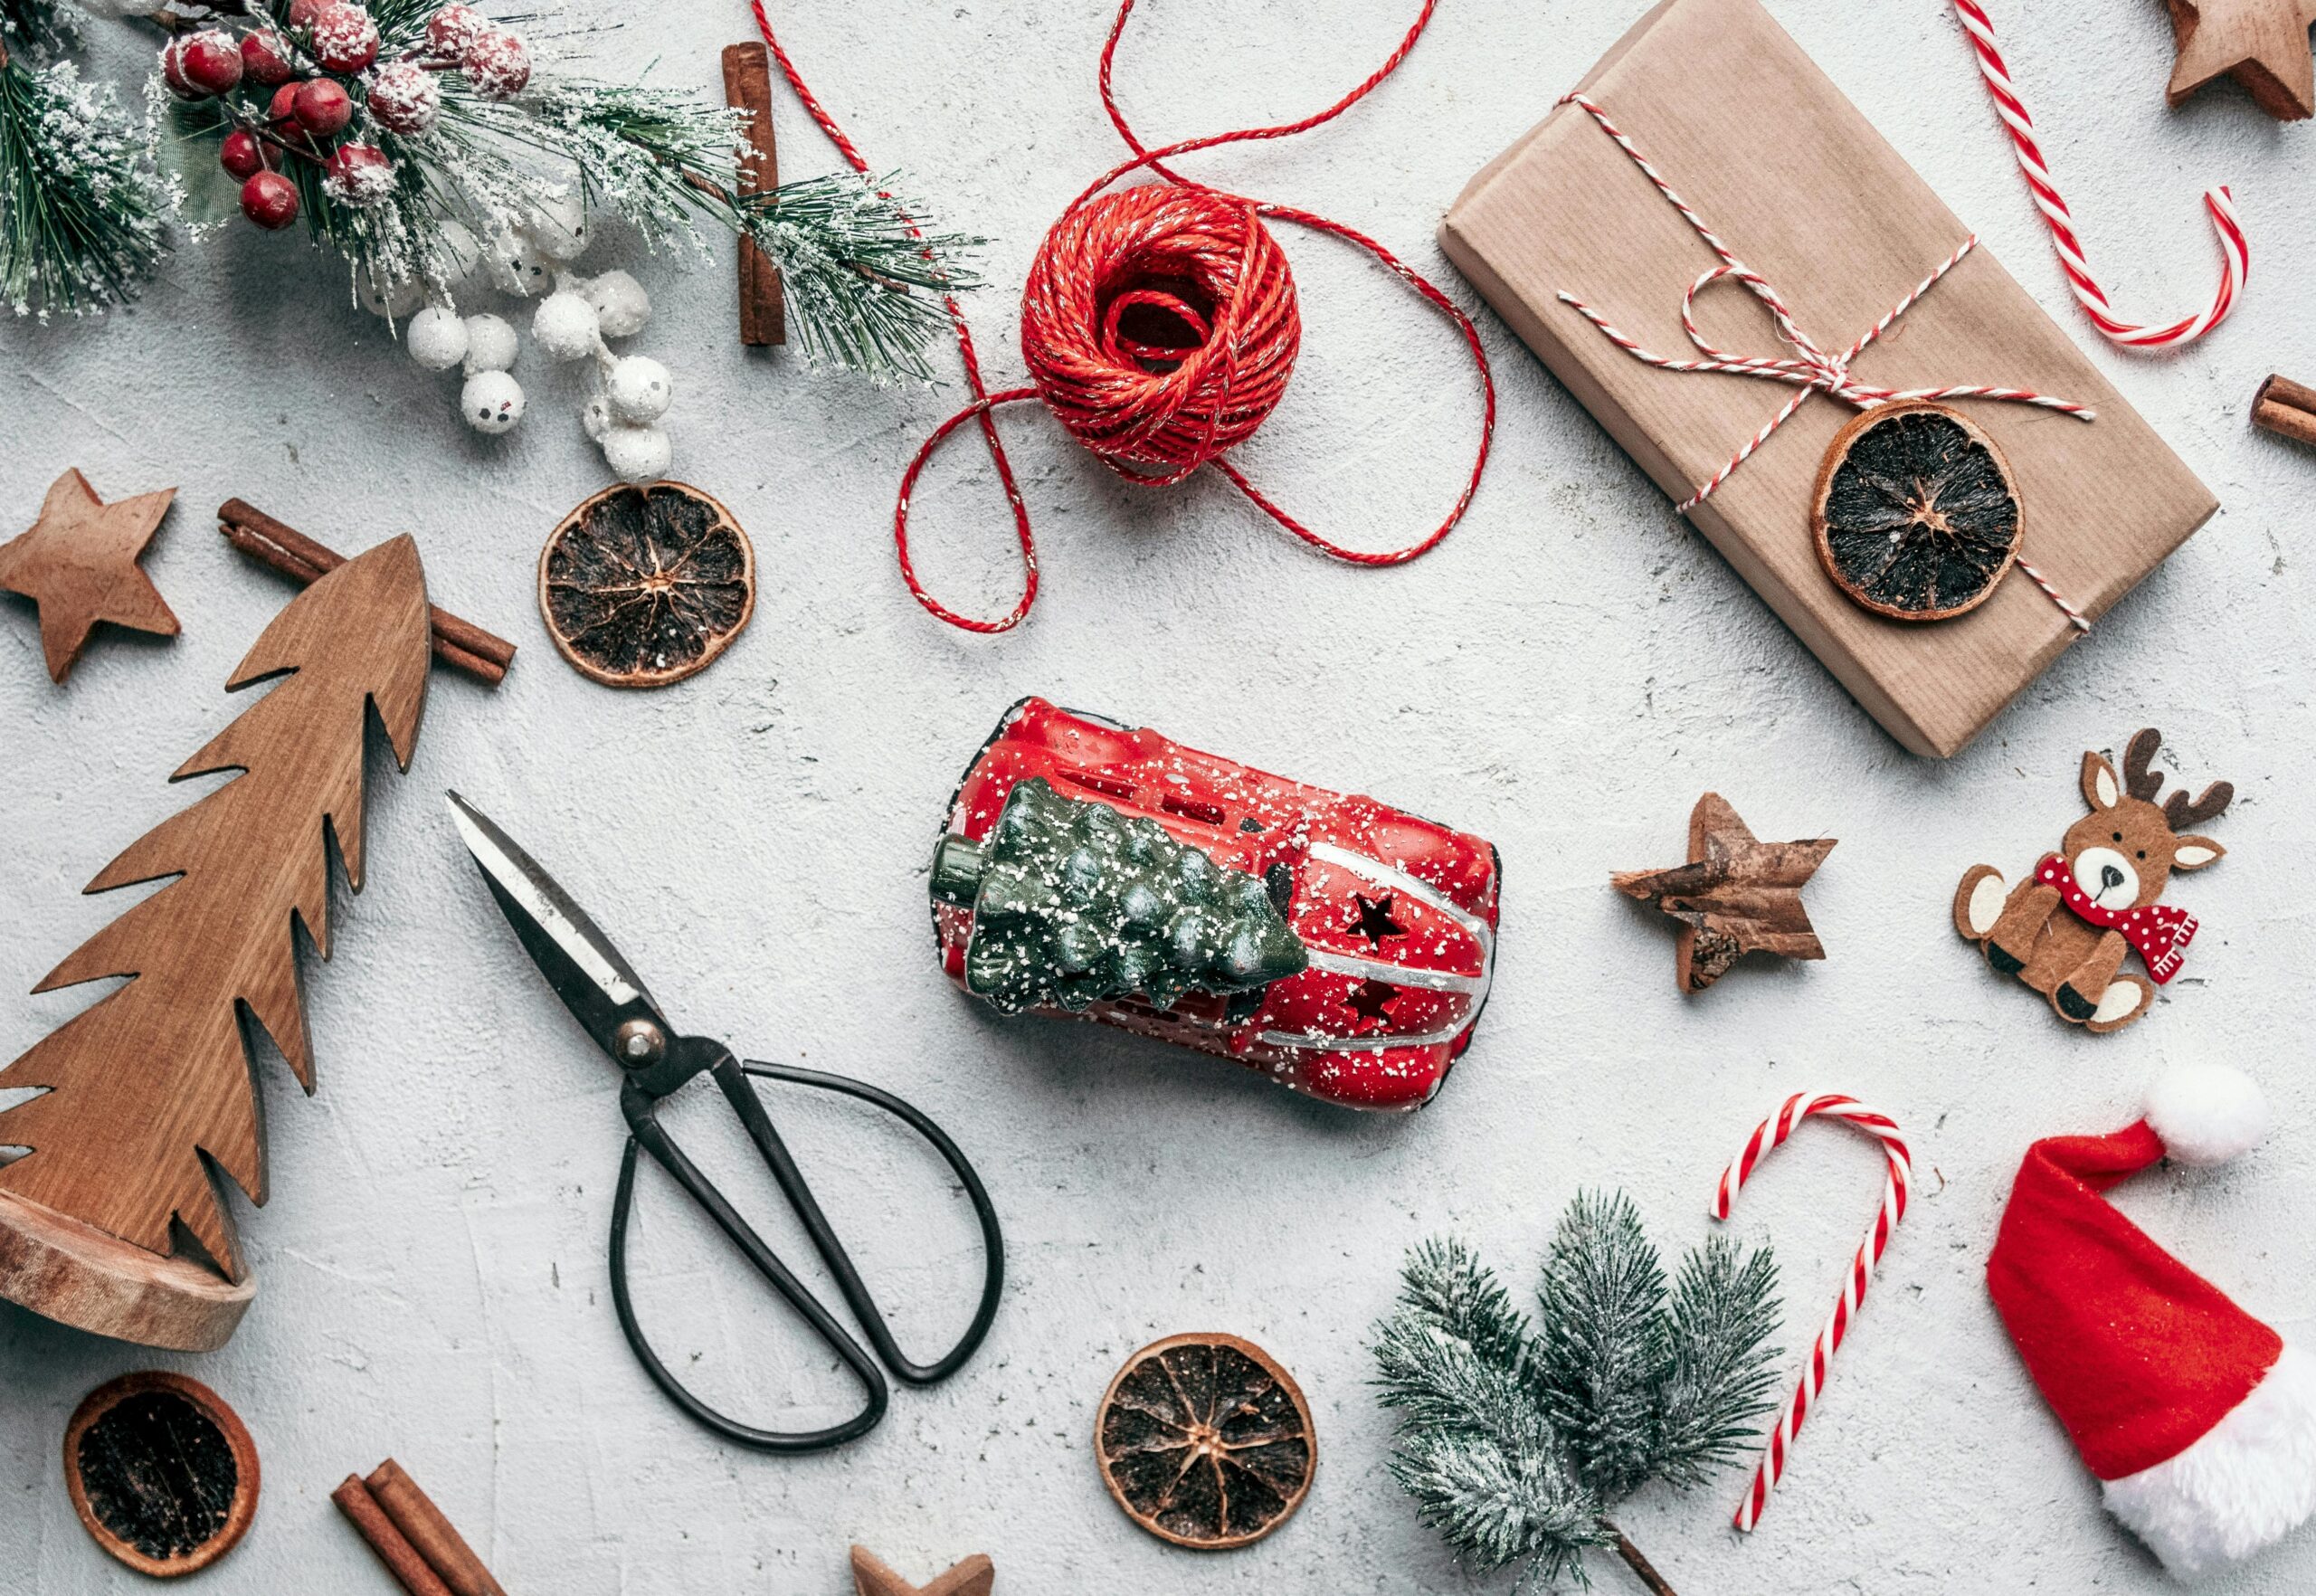
DIY Christmas Gift Wrapping: Step-by-Step Guide
1. Personalized Gift Tags
Custom gift tags add a thoughtful and creative flair to your presents.

Materials Needed:
- Cardstock or heavy paper (various colors)
- Scissors or craft knife
- Hole punch
- Markers, pens, or calligraphy pens
- Stamps or stickers (optional for decoration)
- Ribbon, twine, or string
- Decorative elements (glitter, washi tape, or small embellishments)
Steps:
- Cut Out the Tags:
- Cut cardstock into rectangles, circles, or other shapes like stars or trees. Approximate size: 2″x3″.
- Punch a Hole:
- Use a hole punch near the top edge to thread the ribbon or string later.
- Decorate the Tags:
- Write names, holiday greetings, or draw small festive designs with markers or calligraphy pens.
- Add embellishments like glitter, stickers, or washi tape for a unique look.
- Thread Ribbon or String:
- Loop ribbon or twine through the hole and tie it to the gift.
2. DIY Gift Wrap
Creative wrapping options using recycled or unconventional materials make your gifts stand out while being eco-friendly.
Materials Needed:
- Recycled paper (newspaper, old maps, or sheet music)
- Brown paper bags or kraft paper
- Fabric (holiday-themed patterns or scarves)
- Scissors
- Tape or glue
- Stamps, markers, or paint (for designs)
- Natural decorations (pine sprigs, dried orange slices, or cinnamon sticks)
Steps:
- Prepare the Wrapping Material:
- Flatten brown paper bags or cut recycled materials into sizes suitable for your gift.
- Wrap the Gift:
- Use the chosen material to wrap your gift securely, folding edges neatly and taping them down.
- Decorate the Wrap:
- For brown paper or plain kraft paper, stamp or draw festive designs like snowflakes, holly, or stars.
- Attach natural elements such as pine sprigs or dried oranges using tape or glue for a rustic touch.
- Alternative: Fabric Wrapping:
- Lay fabric flat, place the gift in the center, and gather the edges to tie at the top. Secure with a ribbon or decorative knot.
3. Ribbon and Bows
Add a polished and festive touch with ribbons and handmade or store-bought bows.

Materials Needed:
- Ribbons (assorted colors and textures like satin, velvet, or metallic)
- Pre-made bows or DIY bow materials (wired ribbon works well)
- Scissors
- Tape or glue
Steps:
- Choose the Ribbon:
- Select a ribbon color that complements your gift wrap or adds a pop of holiday flair.
- Tie a Ribbon Around the Gift:
- Wrap the ribbon around the gift box and tie a bow on top. For a cross design, wrap horizontally and vertically before tying.
- Make a DIY Bow:
- Create a bow by cutting a long strip of wired ribbon, forming loops, and securing the center with tape or an additional ribbon.
- Add Extra Flair:
- Layer multiple ribbons for added texture or attach small ornaments or jingle bells to the bow.
Tips for All Wrapping Projects:
- Coordinate Colors: Use a consistent color scheme for a cohesive look.
- Eco-Friendly Options: Choose recyclable materials or reusable wrapping methods like fabric.
- Personal Touches: Incorporate elements like handwritten notes or family photos on tags or wrapping.
- Creative Displays: Arrange gifts under the tree with varying designs to enhance the festive vibe.
These DIY wrapping techniques make your gifts as delightful to open as they are to receive!